


Water Science Experiments for Kids
Learn how water is constructed, the stages of the water cycle, and how it changes states. Water is one of the most essential chemicals in the world. It makes up 70% of our bodies and covers approximately 70% of our Earth. Water is an elementary chemical composed of two hydrogen atoms and one oxygen atom (H2O) that form a covalent bond. Despite the simplicity of the molecule, water behaves in several unusual ways, best illustrated through these fun, kid-friendly science experiments.
Droplets on a Penny
Because water has such strong surface tension, a single penny can hold far more water than you would ever imagine. This fun science experiment illustrates the strength of water's bonds.
What You Need:
- Penny
- Water
- Pipette or eyedropper
What You Do:
1. Wash and rinse a penny. Dry it completely.
2. Place the penny on a flat surface. The flatter the surface, the better.
3. Use an eye dropper or pipette to draw up water.
4. Carefully, let out individuals drops of water onto the flat surface of the penny.
5. Keep track of how many water drops you add, one at a time, until water runs over the edge of the penny. You’ll probably be surprised by the number of drops you get on there!
Difficulty Level: ●
Learn More: Steve Spangler Science: Droplets on a Penny
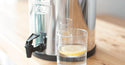
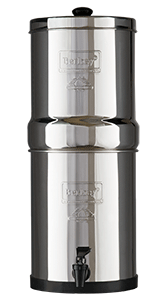
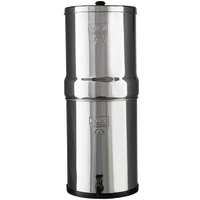
The Berkey Red Dye Test
This is a fun test, safe for kids of all ages, that also allows you to see the efficiency of your filter.
What You Need:
- Water
- Black Berkey Filters
- Upper chamber of Berkey system
- Clear glass jars
- Artificial red food coloring
What You Do:
1. Mix 1 teaspoon or red food coloring with one gallon of water
2. Place upper chamber with filters installed, on jars with filter stems in the opening of the jars
3. Pour mixed red dye and water into upper chamber
4. Check to see if any pint tinted or red water comes through stems of filters into the jars
Difficultly Level: ● ● ●
Learn More: Berkey Filters: Red Dye Test
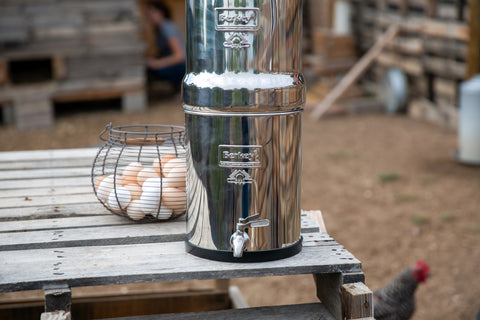
Floating Eggs
Got eggs? Not sure if they're still good or have gone bad? Don't let rotten eggs ruin your day. Do this quick and easy test to check the age of eggs.
What You Need:
- Eggs
- Large glass or cup
- Water
What You Do:
1. Fill a large glass or cup 3/4 with water.
2. Gently place one egg in the glass.
3. If it floats that means the egg is older, which may mean that it's gone bad. If it sinks that means the egg is fresh.
4. Eggs float or sink based on the size of the air cell in the egg. The air cell becomes larger as the egg ages and that's what makes it float.
Difficulty Level: ●
Learn More: Egg Safety Center: Floating Eggs
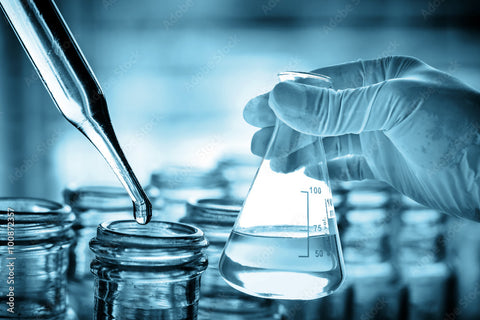
Making a Lava Lamp
Experiment with the way oils and water repel each other. Create a working lava lamp with just a few simple ingredients.
What You Need:
- Flask or empty water bottle (Boroux 500 mL glass bottle)
- Vegetable oil, cooking oil, or baby oil
- Water
- Food coloring
- Alka-seltzer
What You Do:
1. Fill the bottle 3/4 with oil.
2. Fill the remaining 1/4 with water. Oil floats and water sinks to the bottom of the bottle under the oil and looks like little, clear blobs.
3. Add a few drops of food coloring. The food coloring is water-based, so it will also sink and color the water that is now at the bottom of the bottle.
4. Break an effervescent tablet, such as alka-seltzer, into small pieces, and gently drop into the bottle.
5. Watch and see how the oil, water and chemical compounds react. If the lava lamp slows down, add more tablets.
Difficulty Level: ● ●
Learn More: Home Science Tools: Making a Lava Lamp
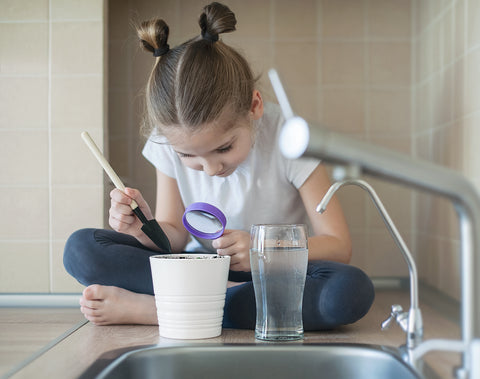
Making a Magnifying Glass
Water does some funny things to light; and, in the right circumstances, water magnifies objects. These water science experiments help to illustrate this tendency and create your own magnifying glass.
What You Need:
- 2x3 inch piece of cardboard
- One-inch square piece of thin clear plastic
- Scissors
- Tape
- Water
- Spoon or eyedropper
- Newspaper
What You Do:
1. Cut a dime-size hole in the middle of cardboard.
2. Place clear plastic over the hole, and tape it down. Tape it around the edge without covering the hole. Fold each end of the cardboard down 1/4 inch.
3. Drop small amounts of water onto the plastic.
4. Set a piece of newspaper with printing, on the table.
5. Place the cardboard magnifying glass on top of newspaper. Look straight down through the top of the water drop; the print on the paper will be magnified.
Difficulty Level: ● ●
Learn More: Making a Magnifying Glass from Water
Making a Compass
Ancient mariners learned that by floating a magnetized needle in water, they could create the first compasses. See if you can use your understanding of water and the principles of magnetism to create your own.
What You Need:
- Needle
- Bowl of water
- Paper
- A magnet
What You Do:
1. Rub one end of the needle on one side of the magnet 30 times (the north pole if your magnet is labeled). Always rub in the same direction.
2. Cut a circle about two inches in diameter out of paper.
3. Thread the needle through the paper circle twice, but not all the way through, so that the needle lays flat on the paper.
4. Place the paper and needle on the surface of the water. Both ends of the needle should be above the floating paper circle.
5. Watch it slowly rotate and then stop.
6. Confirm the directions with a compass. One end of the needle (the one that you rubbed on the north pole of the magnet) should point to north and the other south.
Difficulty Level: ●
Learn More: Rookie Parenting Science: Making Your Own Compass
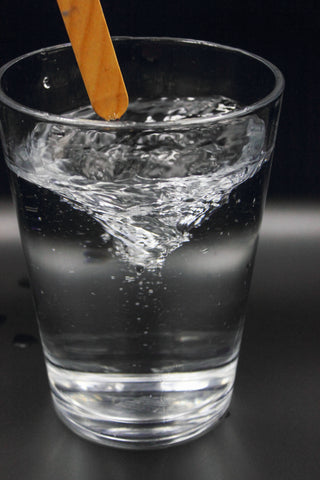
What Dissolves in Water?
While some substances readily dissolve in water, others fail to do so, no matter how long you stir them. When a soluble solid (solute) is mixed with the right liquid (solvent), it forms a solution. This process is called dissolving. Two things that affect the speed at which a solid dissolves are temperature and the size of the grains of the solid. Experiment with household substances like sugar and sand to see dissolving in action.
What You Need:
- Transparent containers (Boroux bottles)
- Water (warm and cold )
- Substances to try to dissolve such as; sugar, coffee, pepper, sand, flour, salt.
What You Do:
1. Write predictions of which substances will dissolve or won't dissolve in warm and cold water.
2. Add small amounts of one substance at a time into a glass of warm or cold water, stir and observe the difference.
3. Make notes of which substances dissolve in warm water versus cold water, and which ones don't dissolve at all.
Difficulty Level: ● ●
Learn More: Science Sparks: What Dissolves in Water?
De-Chlorinating Water
Chlorine is a chemical added to drinking water and pool water to kill bacteria that may live in the water. However, chlorine can kill pet fish and frogs, and negatively affect fermenting processes. Test out the many methods of removing chlorine at home.
Learn More: Masontops: De-Chlorinating Water
Method 1: Boiling
The colder the water, the more gasses it contains. By boiling water on the stove for 20 minutes, the water will degas and chlorine will evaporate.
Method 2: UltraViolet Exposure
Place clear container of water in the sun for at least 24 hours for the chlorine to evaporate.
This is easy, but takes time and leaves the water subject to other possible contaminants, so be mindful of where and how you leave it.
Method 3: Vitamin C
Mix vitamin C (aka ascorbic acid or sodium ascorbate) in with water. Approximately 40 mg will dechlorinate 1 gallon of water. Vitamin C tablets or powder can decrease the pH levels of the water. Vitamin C also removes chloramine, which some municipalities use instead of chlorine. Higher amounts of vitamin C is needed remove chloramine.
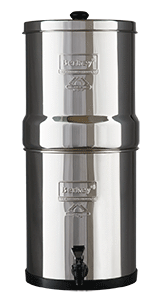
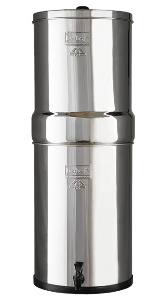
Method 4: Use a Berkey
Berkey Filters reduce over 99.9% of chlorine.
The Case of the Disappearing Water
Evaporation is an important part of the water cycle. Learn how and why water evaporates by performing simple experiments.
What You Need:
- Measuring Cup
- Water
What You Do:
1. Write down today’s date.
2. Fill a measuring cup to the 1-cup line.
3. Put the cup in a sunny window.
4. Record how many days it takes for the water in the measuring cup to be at the three/fourths cup line.
Difficulty Level: ●
Learn More: The Case of the Disappearing Water
Ice Balloons
Water freezes into hexagonal crystalline structures that take up about 10 percent more space than liquid water. The increased volume equals lower density, causing ice to float. See this unique characteristic of water in action.
What You Need:
- Balloons
- Water faucet
- Freezer
- Plastic tub big enough and deep enough to float an ice balloon: 12 x 12 x 9 inches or larger
- Scissors
- Salt
- Food coloring
What You Do:
1. Fill balloons with water (approximately 5 inches diameter).
2. Freeze water balloons for two days minimum.
3. After two days, remove balloon from ice.
4. Fill plastic tub 3/4 with water. Don’t fill it all the way to the top.
5. Sprinkle a small amount of salt on top of the balloon (half a teaspoon). See how liquid water forms around the salt, creating patterns as it melts down the side of the ice ball. Put a few drops of food coloring onto the salt to make the flow patterns more visible.
6. Rinse off the salt and food coloring and put the ice balloon into the tub of water. Make observations and notes about how much of the balloon is above the water level, and how much is below.
Difficulty Level: ● ●
Learn More: Exploratorium: Ice Balloons
Snap Freezing and Supercooling Water
Under the right conditions, water can remain liquid below freezing temperature, 32 degrees Fahrenheit.
What You Need:
- Large bowl
- Ice
- Salt
- Distilled water
- Thermometer
- Clear Containers (500 mL Boroux Bottle)
- Cardboard
- Scissors
What You Do:
1. Cut cardboard in a circle large enough to cover a cup/bottle.
2. Pour distilled water into a 1/4 of clear container . Place the cup in the center of the bowl.
3. Cover the cup, add enough ice cubes to fill the bowl about 2–3 times higher than the level of water in the cup/bottle. Do not get any ice inside the cup/bottle.
4. Sprinkle two tablespoons of salt over the ice. Do not to get any salt inside the cup/bottle.
5. Uncover the cup and put the thermometer inside.
6. Monitor the temperature of the water. Over the next 30 minutes, the temperature should decrease. Keep track of the time and temperature.
7. When the temperature of the water reaches −1 to −3 °C or so, carefully remove the cup from the bowl of ice. *To avoid breaking the thermometer, allow the frozen water to thaw before attempting to remove from the cup/bottle.
8. Repeat the procedure, testing different types of water to see whether it can be supercooled before freezing. Types of water to test: bottled distilled water, bottled spring water, plain tap water, water that has been boiled and then allowed to cool to room temperature.
Try this and make observations: Snap Freezing Supercooled Water
1. Drop a small piece of ice into the cup/bottle of supercooled water. What happens?
2. How does the temperature change when the water freezes? Explain why.
Difficulty Level: ● ● ●
Learn More: Science Buddies: Snap Freezing and Supercooling Water
- - -
Learn about the properties of water by performing a number of fun science experiments. Researchers and scientists use experiments to answers questions and expand their general knowledge.
More Topics to Discuss:
Surface Tension of Water
Water tends to stick together, especially at the surface. This phenomena is called surface tension. This characteristic allows things to float on the surface. Some simple chemicals can destroy the surface tension of water, making it impossible for things to float.
Learn More: USGS: Surface Tension of Water
Learn More: TKSST: Dramatic Demonstration of Surface Tension
Water Freezing and Melting
Several properties of water, including the amount of space it takes up, change with the temperature. These science experiments with water help you to understand the liquid's strange properties.
Learn More: Science Learning Lab: Water Freezing and Melting